
- Novelty WordPress Theme by TeslaThemes
This program is free software: you can redistribute it and/or modify it under the terms of the GNU General Public License as published by the Free Software Foundation, either version 3 of the License, or (at your option) any later version.
This program is distributed in the hope that it will be useful, but WITHOUT ANY WARRANTY; without even the implied warranty of MERCHANTABILITY or FITNESS FOR A PARTICULAR PURPOSE. See the GNU General Public License for more details.
You should have received a copy of the GNU General Public License along with this program. If not, see http://www.gnu.org/licenses/.
Thank you for purchasing our product! We are very glad that you have decided on our Novelty WordPress Theme.
This documentation will teach you how to set up and use the Novelty WordPress Theme. The theme is very easy to use and we are here to guide and help you, so please read and follow the documentation, if there are some other issues you want to discuss then do not hesitate to contact us on hi@teslathemes.com. This documentation is more of a reference work if you do not know what to do, or if you are not familiar to WordPress.
Please read the following very carefully as it will help you set the theme up, we have gone through the setup process multiple times and provided the best possible instructions.
We strongly recommend you to use a fresh install of WordPress and integrate your content into the pages according to the documentation. Of course, you can try to implement the theme into your current WordPress, but we will not provide in-depth support for it. The theme has specific settings that may conflict with your current setup of categories, plugins, javascript use, and more.
We wish you good luck in your work with Novelty WordPress Theme, and of course we would love to see your website and what you come up with by using this theme.
The theme is very easy to use and we are here to guide and help you, so please read and follow the instructions and if you have further questions write us a email hi@teslathemes.com. This documentation is more of a reference work if you do not know what to do and need a better understanding on how the template is built write us a email.
Download and unzip the WordPress package from Download Wordpress.
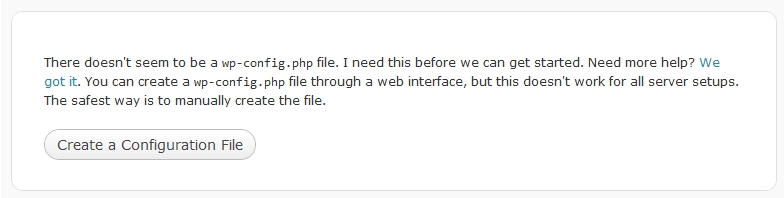
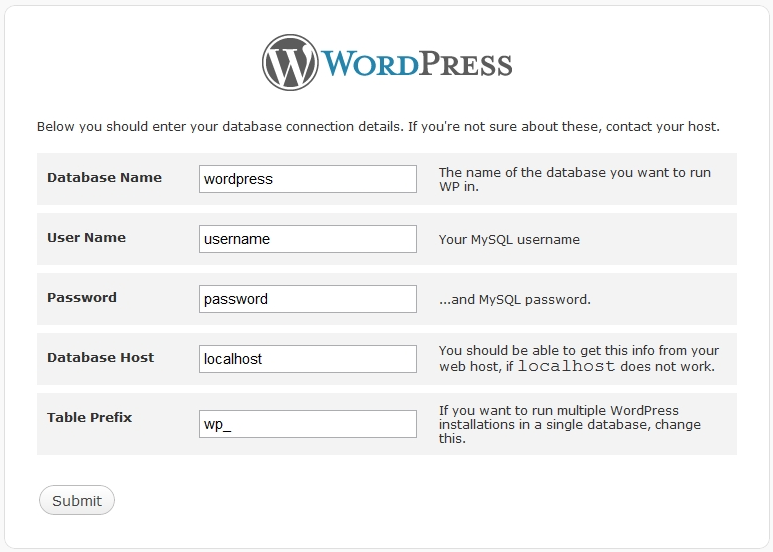
Auto Mode: After accessing the site you will get the configuration page:
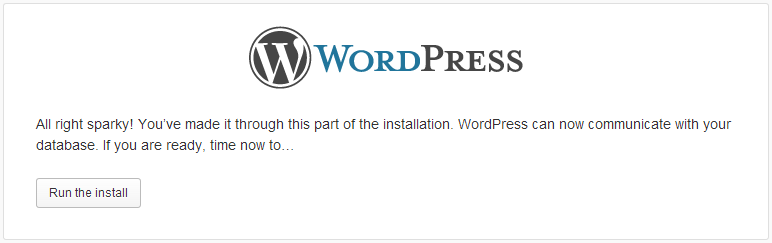
If the information is correct and everything works fine you will receive:
If it's successful then skip the "Manual Mode" if not, follow the instructions bellow.
Manual Mode: You can either rename the file wp-config-sample.php to wp-config.php on your local machine or on you server (you'll still need to tell WordPress your database information).
Open wp-config.php with a txt editor and enter your database information under the section labeled:
/** The name of the database for WordPress */
define('DB_NAME', 'database_name_here');

/** MySQL database username */
define('DB_USER', 'username_here');

/** MySQL database password */
define('DB_PASSWORD', 'password_here');

/** MySQL hostname */
define('DB_HOST', 'localhost');

/** Database Charset to use in creating database tables. */
define('DB_CHARSET', 'utf8');

/** The Database Collate type. Don't change this if in doubt. */
define('DB_COLLATE', '');
After the information is edited upload the file to the server.
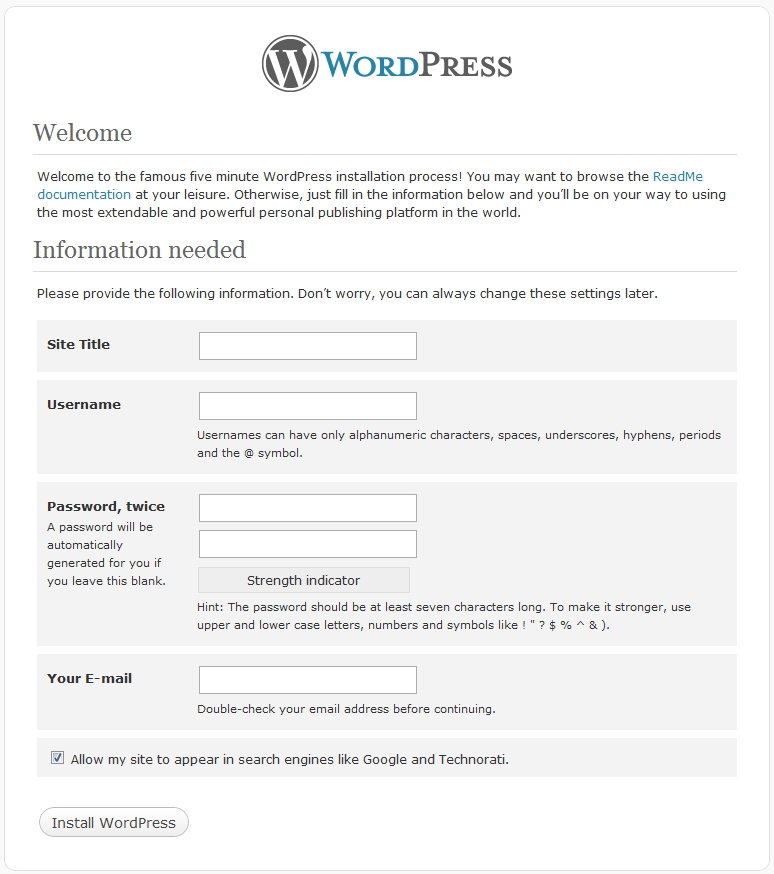
If it's all sparky then you click Run the Install and fill all the lines bellow:
This being the last step you will see a success message.
Click Log in and now you can proceed to you site. Now you can go to installing your Novelty WordPress Theme.
To install the Novelty WordPress Theme you will need WordPress v3.4 or newer.
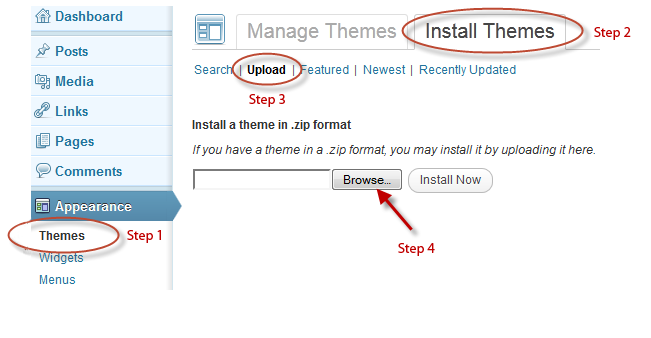
Follow the steps and upload the Theme's installation zip file through the WordPress admin backend:
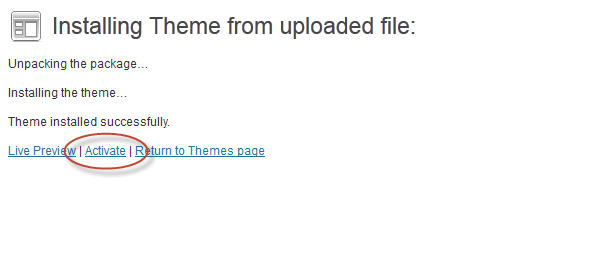
Then, when prompted activate the theme:
Note: If you can't get passed the file upload limit and/or if you get an error message mentioning exhausted memory size or something in those lines, you could try to increase that limit by adding to the "wp-config.php" the following line of code:
define('WP_MEMORY_LIMIT', '64M');
You have to upload via FTP to the Server, in Wordpress Folder → wp-content → themes folder the Novelty WordPress Theme Folder.
If everything went well in Option A or B, the theme should appear under Appearance → Themes like shown below:
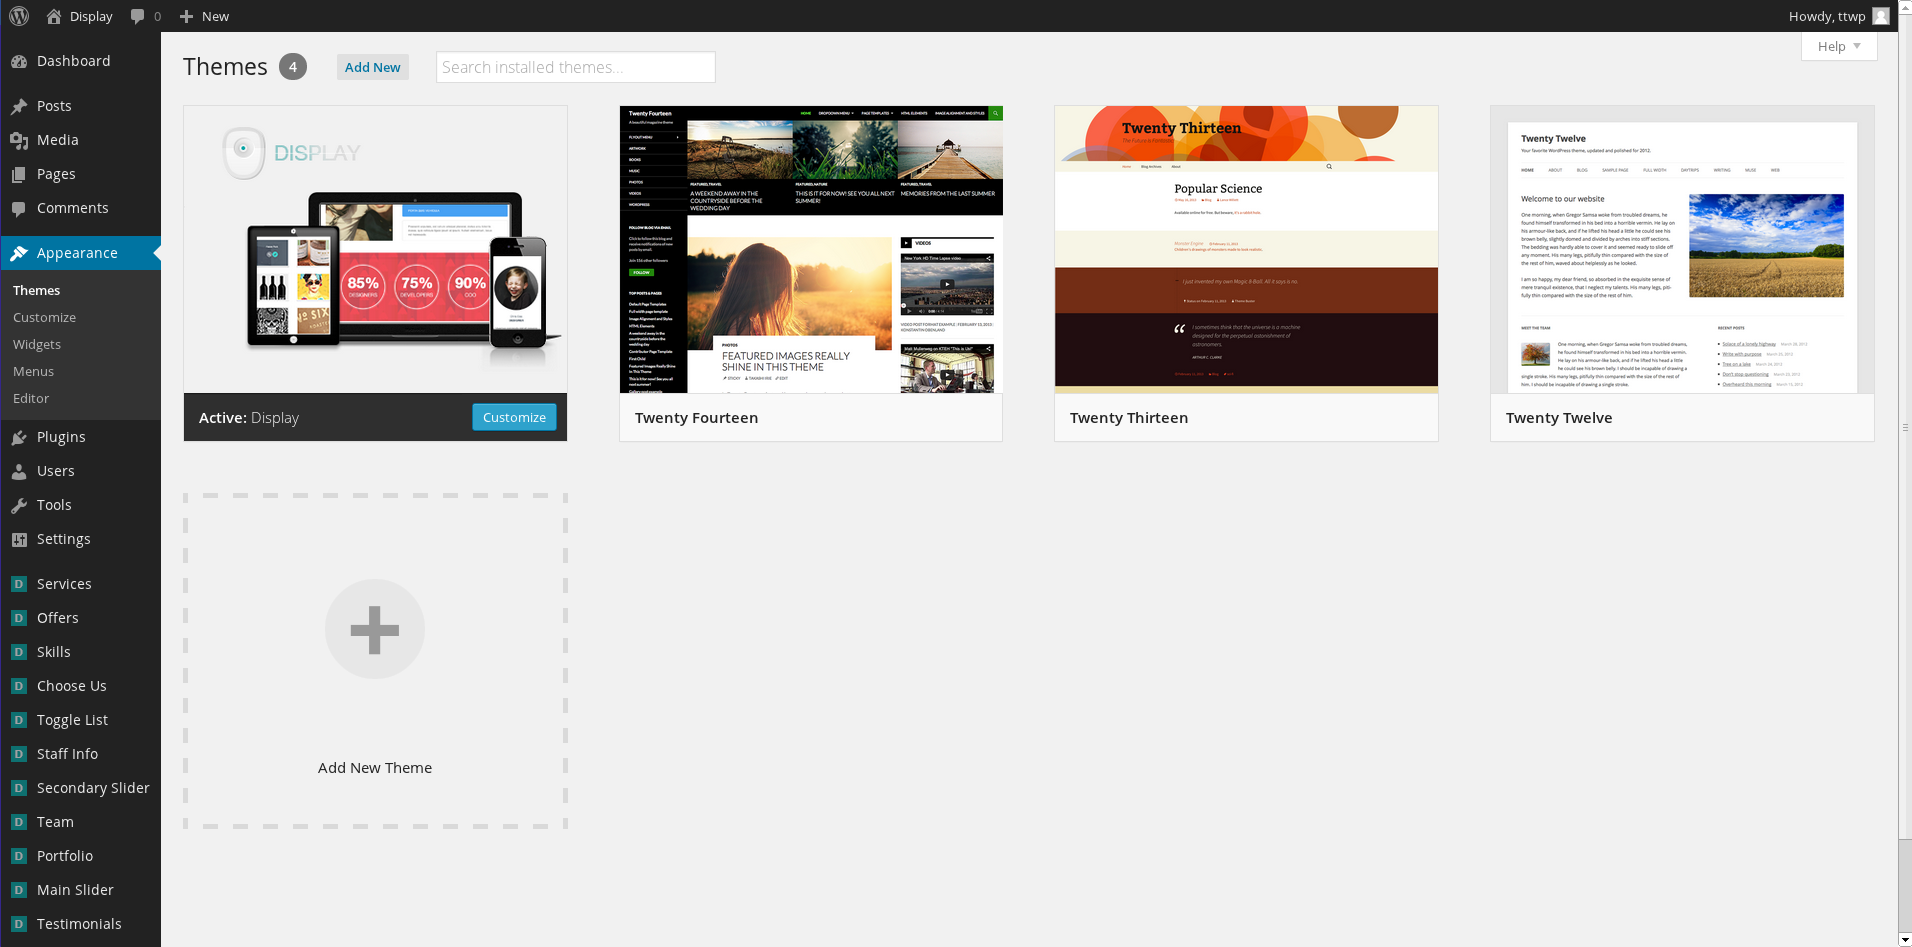
Now you are ready to customize your theme
Create a page that will serve as homepage - In wordpress admin panel under Pages → Add New, name it for example "Front Page Default". Also, select "Default Front Page" as the template used by the page.
Create a page that will serve as the archive page of blog posts - In wordpress admin panel under Pages → Add New, name it for example "Blog". Make sure that the permalink slug is "blog" only. Also, select "Default Template" as the template used by the page.
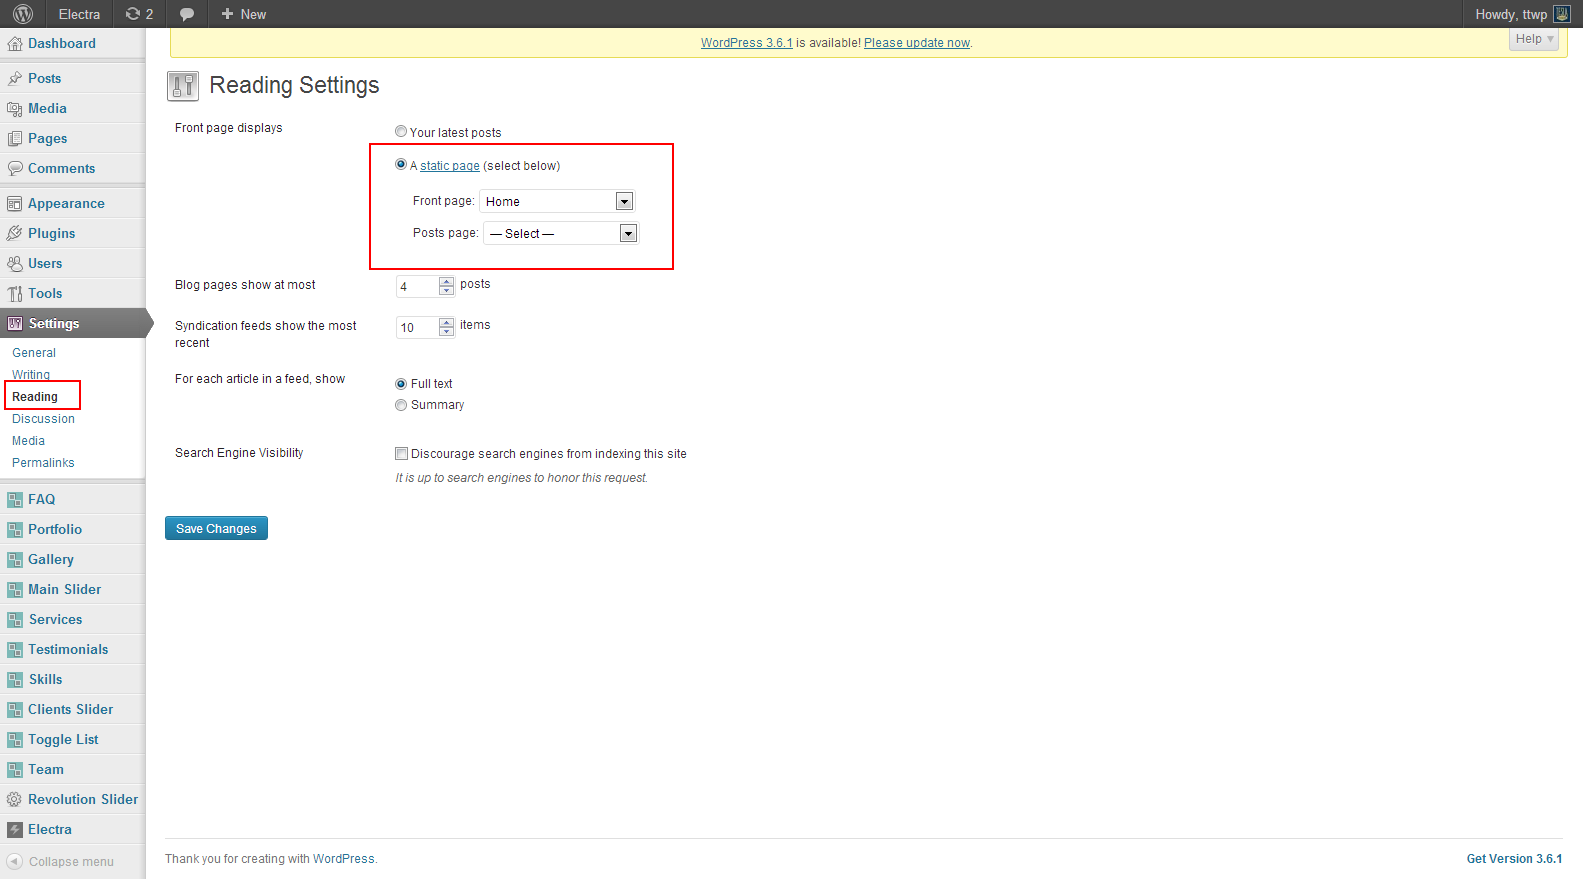
Set the front page to display as a static page: - Go to Settings → Reading → A static page (select below) → Front page: → Choose your page from the drop-down menu.
Choose your posts page from the drop-down menu. It should be the "Blog" page we have just created.
Your page should look something like:
We recommend you set the number of items to show to be a number divisible by 3, for example: 6, 9, 12, etc
Novelty theme contains the following shortcodes:
This shortcode will display a slider displaying latest posts.
The content for this shortcode is taken from the blog posts (Dashboard > Posts).
Available shortcode attributes:
nr - default is "3" - set the nr of posts to show
category - default is "" (empty) - set the category slug (which may be different from the category name) from which to take the posts
enable_links - default is "true" - enable/disable links for the images
link_target - default is "" (empty) - set the target attribute of the links (valid only when enable_links is true), this can be useful to make links open in a new tab/window which can be done by setting the value to "_blank"
image_size - default is "full" - set the desired image size, possible values are: "full", "large", "medium", "thumbnail" or a custom size with format "width,height" (for ex. "300,200")
Sample output:

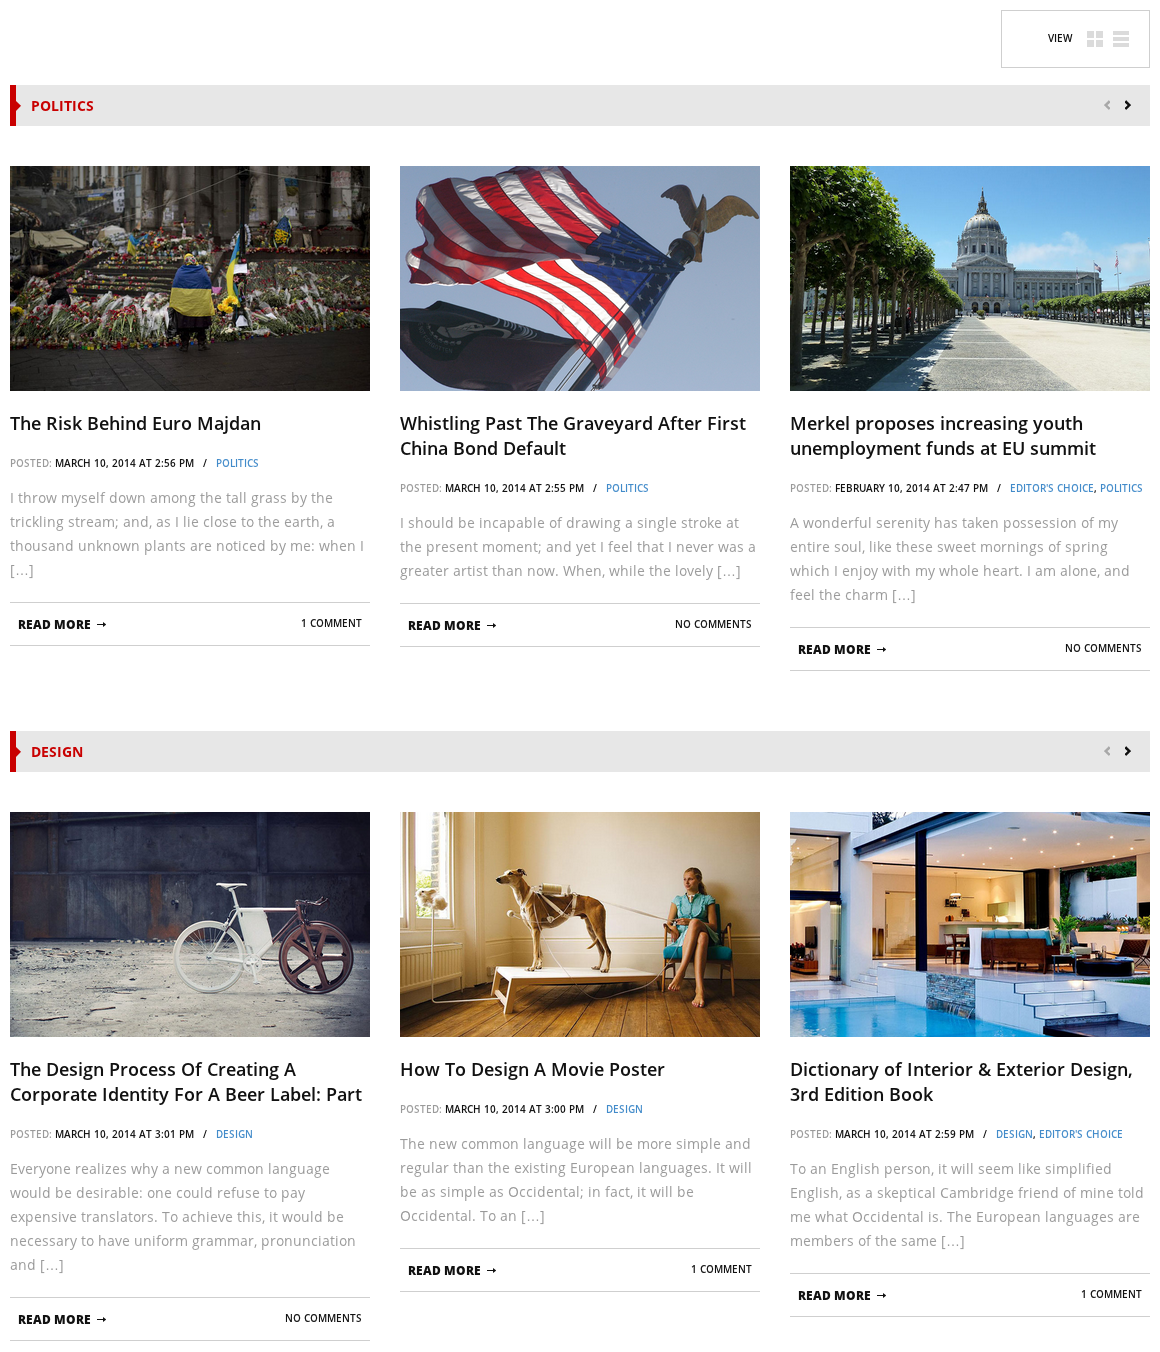
This shortcode will display one or more carousel type sections containing posts from specified categories.
The content for this shortcode is taken from the blog posts (Dashboard > Posts).
Available shortcode attributes:
nr - default is "3" - set the nr of posts to show
category - default is "" (empty) - set the category slug (which may be different from the category name) from which to take the posts, multiple category slugs separated by a comma be set in which case there will be created a separate section for each category
columns - default is "3" - set the nr of columns for desktop resolution, valid values: 1, 2, 3, 4, 6 and 12
columns_tablet - default is "2" - set the nr of columns for tablet resolution, valid values: 1, 2, 3, 4, 6 and 12
columns_phone - default is "1" - set the nr of columns for phone resolution, valid values: 1, 2, 3, 4, 6 and 12
layout_switcher - default is "false" - enable/disable the layout switcher, in case multiple category slugs where set in the category attribute then the layout switcher will be applied to all the sections
excerpt_length - default is "" (empty) - set a custom excerpt length for the text
image_size - default is "full" - set the desired image size, possible values are: "full", "large", "medium", "thumbnail" or a custom size with format "width,height" (for ex. "300,200")
image_size_2nd - default is "full" - set the desired image size for the second layout (is is used only when layout_switcher is true), possible values are: "full", "large", "medium", "thumbnail" or a custom size with format "width,height" (for ex. "300,200")
Sample output:
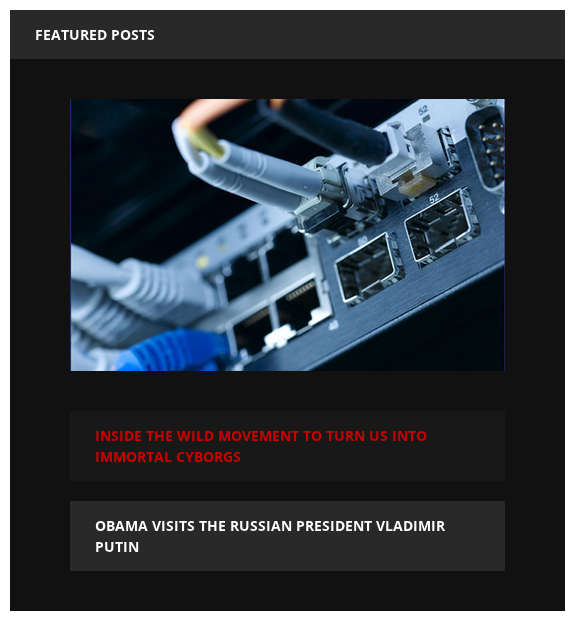
This shortcode will display a slider displaying the latest posts.
The content for this shortcode is taken from the blog posts (Dashboard > Posts).
Available shortcode attributes:
nr - default is "3" - set the nr of posts to show
category - default is "" (empty) - set the category slug (which may be different from the category name) from which to take the posts
enable_links - default is "true" - enable/disable links for the images
link_target - default is "" (empty) - set the target attribute of the links (valid only when enable_links is true), this can be useful to make links open in a new tab/window which can be done by setting the value to "_blank"
title - default is "Featured posts" - set the title
image_size - default is "full" - set the desired image size, possible values are: "full", "large", "medium", "thumbnail" or a custom size with format "width,height" (for ex. "300,200")
Sample output:
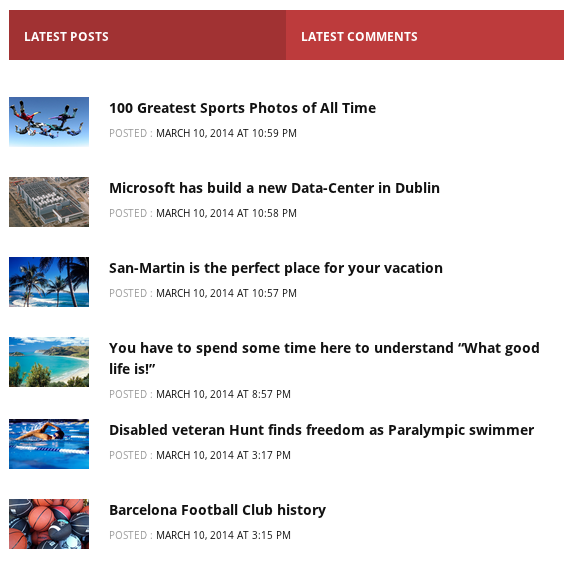
This shortcode will display a 2 tabbed widget containing latest posts and latest comments.
The content for this shortcode is taken from the blog posts (Dashboard > Posts).
Available shortcode attributes:
posts_nr - default is "3" - set the nr of posts to show
comments_nr - default is "3" - set the nr of comments to show
image_size - default is "thumbnail" - set the desired image size, possible values are: "full", "large", "medium", "thumbnail" or a custom size with format "width,height" (for ex. "300,200")
Sample output:
This shortcode will display the latest tweets.
Available shortcode attributes:
nr - default is "3" - set the nr of tweets to show
user - default is "" (empty) - set the user from which to take the tweets
title - default is "latest tweets" - set the title
min_height - default is "" (empty) - set the min height in pixels (for ex. 250 - without 'px') for the section, useful when having tweets of different length which results in the section changing its height, setting this attribute to a high value will solve this problem
Sample output:
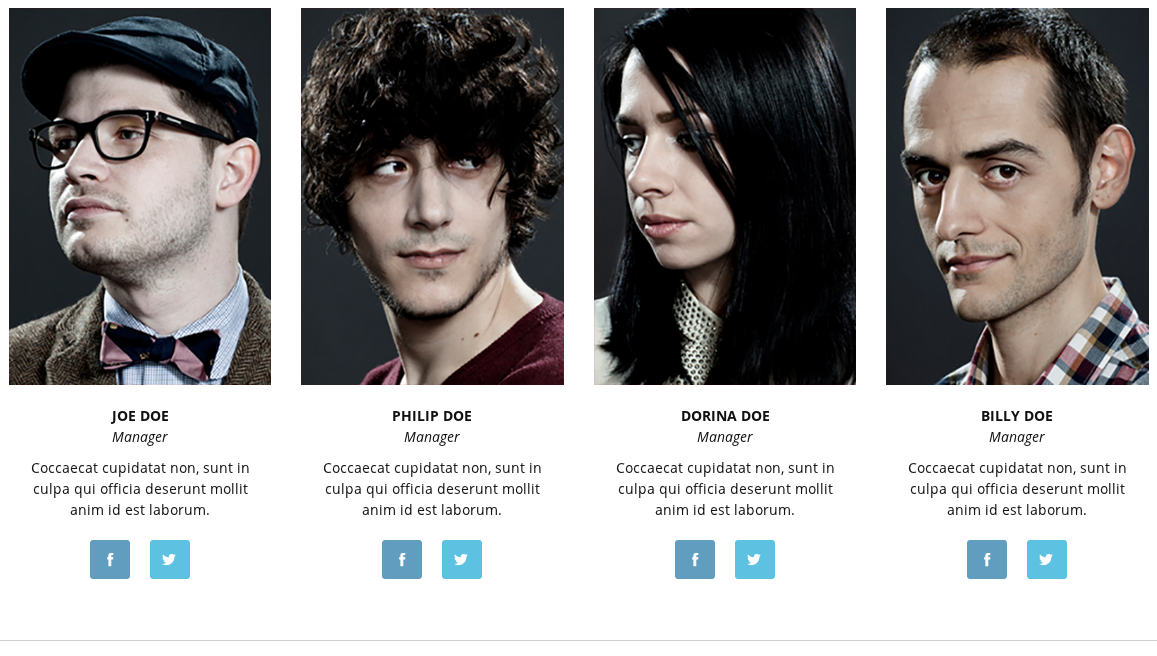
This shortcode will display the team.
The content for this shortcode is taken from the Team custom posts (Dashboard > Team).
Available shortcode attributes:
nr - default is "3" - set the nr of tweets to show
columns - default is "3" - set the nr of columns for desktop resolution, valid values: 1, 2, 3, 4, 6 and 12
wide - default is "true" - enable/disable full browser width
Sample output:
This shortcode will display a fullwidth bordered area containing a big title and optional subtitle and description.
Available shortcode attributes:
title - default is "" (empty) - set the title
subtitle - default is "" (empty) - set the subtitle which is displayed below the title
This shortcode accepts content which will be displayed below the title and subtitle.
The content can be entered between the starting and ending tags of the shortcode, like this:
[novelty_breadcrumb title="About us" subtitle="OUR STORY"]
Lorem ipsum dolor sit amet, consectetur adipiscing elit, sed do elusmod tempor incididunt.
[/novelty_breadcrumb]
Sample output:

This shortcode will display a news ticker.
The content for this shortcode is taken from the blog posts (Dashboard > Posts).
Available shortcode attributes:
title - default is "hot news" - set the title
speed - default is "10" - nr of milliseconds to shift the content by 1 pixel (the greater the number the slower will result the speed)
category - default is "" (empty) - set the category slug (which may be different from the category name) from which to take the posts
nr - default is "5" - set the nr of posts to show
Sample output:

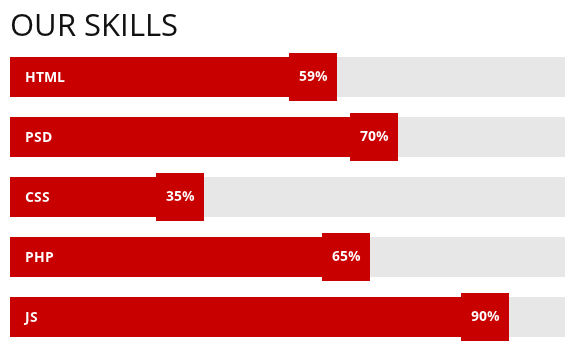
This shortcode will display a list of skills.
The content for this shortcode is taken from the Skills custom posts (Dashboard > Skills).
Available shortcode attributes:
title - default is "" (empty) - set the title
nr - default is "0" - set the nr of posts to show (0 means all items will be displayed)
Sample output:
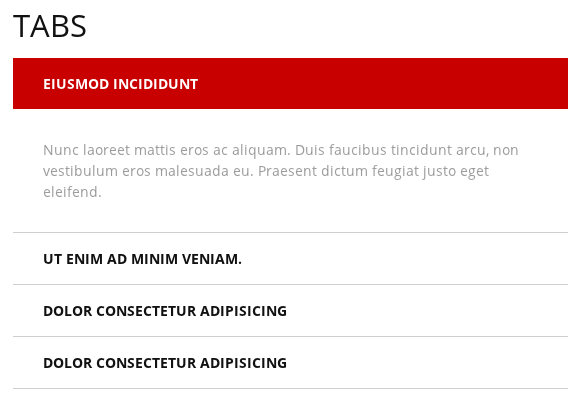
This shortcode will display a toggle list.
The content for this shortcode is taken from the Toggle List custom posts (Dashboard > Skills).
Available shortcode attributes:
title - default is "" (empty) - set the title
nr - default is "0" - set the nr of posts to show (0 means all items will be displayed)
Sample output:
These three shortcodes are used to create columns.
The first column is always created by [novelty_column_first].
The last column is always created by [novelty_column_last].
All the other columns in between the first and the last are created by [novelty_column].
Available shortcode attributes (valid for all three shortcodes):
size - default is "4" - set the size of column, valid values are 1-12
offset - default is "0" - set the offset of column, valid values are 1-12
Note: the sum of all "size" and "offset" attributes of all the columns that form a row must not be greater than 12.
Example which creates three equal, first has size 1/2, second and third have size 1/4:
[novelty_column_first size="6"]
This is the first column.
[/novelty_column_first]
[novelty_column size="3"]
This is the second column.
[/novelty_column]
[novelty_column_last size="3"]
This is the third column.
[/novelty_column_last]
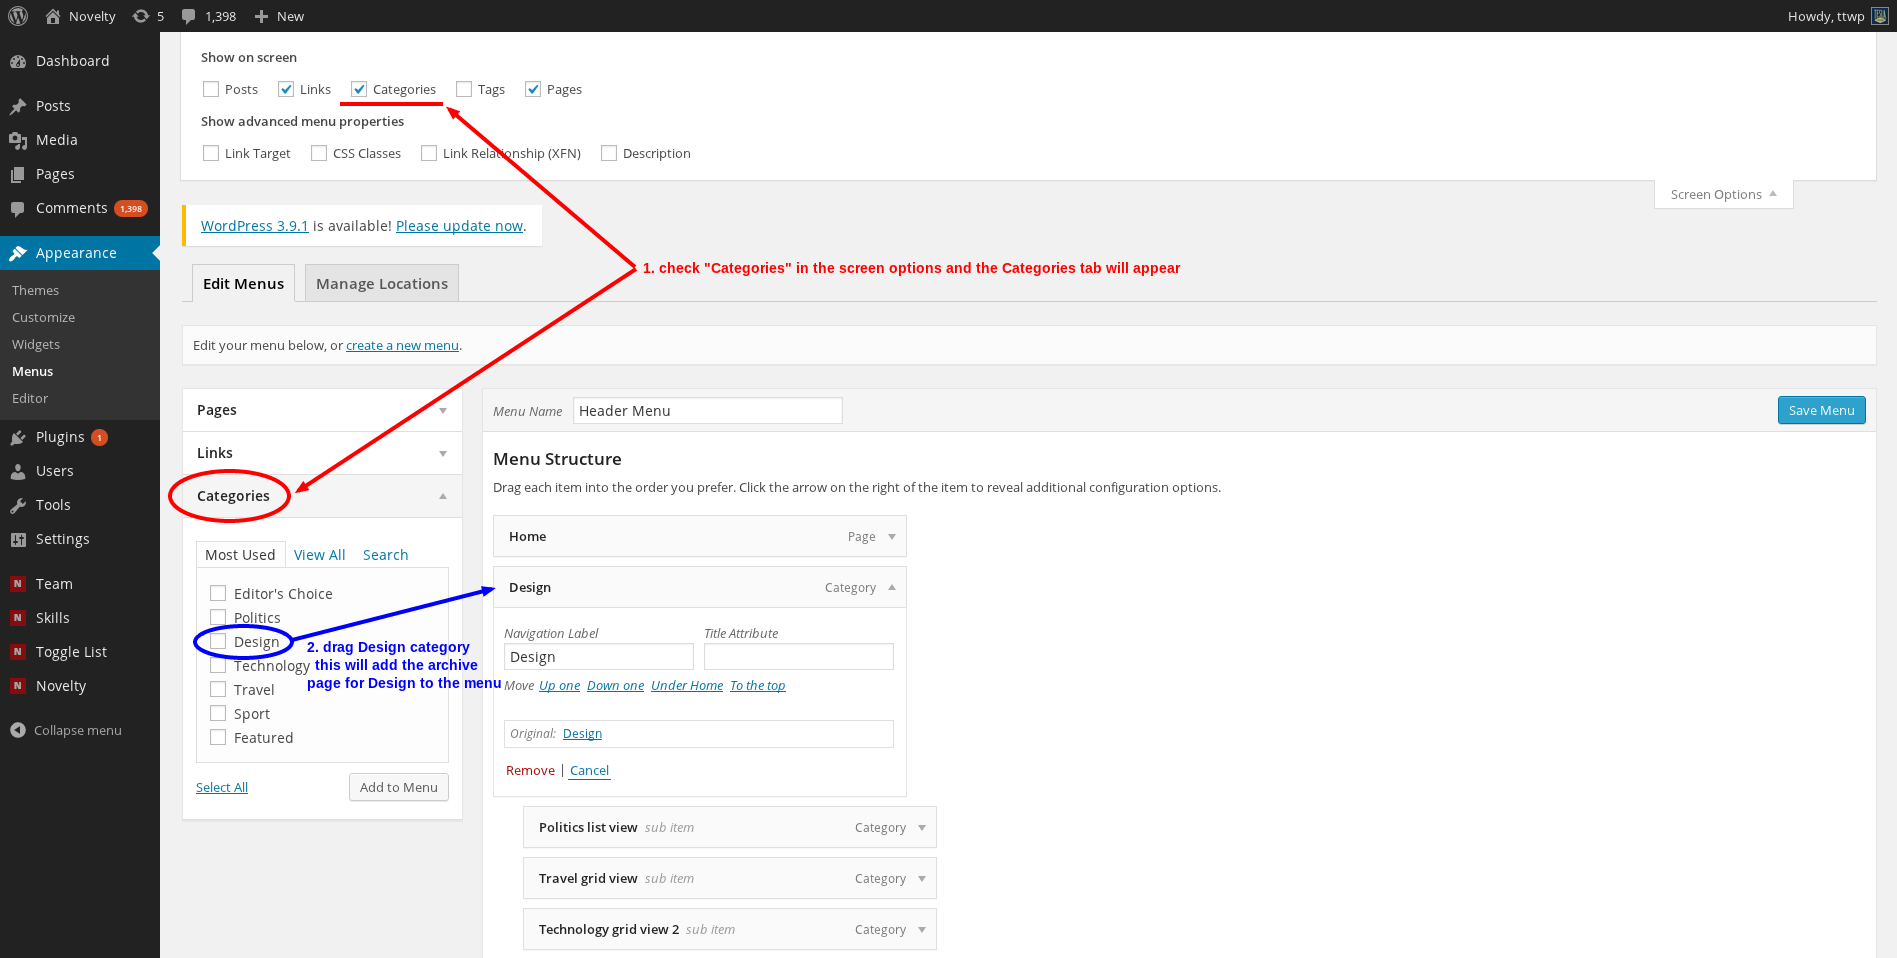
Some pages in our demo like "Design" and "Travel" are actually category archive pages for Design and Travel categories. The content is taken from blog posts (Dashboard > Blog Posts) that have a specific category.
The category archive page do not need to be created. They are automatically available for all categories.
You can access the category archive pages in Dashboard > Posts > Categories and clickiing "View" next to a category. Another option is to click on the category in the "Categories" widget or "Tag cloud" widget with the option set to display categories.
To add a category archive page to the menu like in our demo please follow the steps described in the screenshot below:
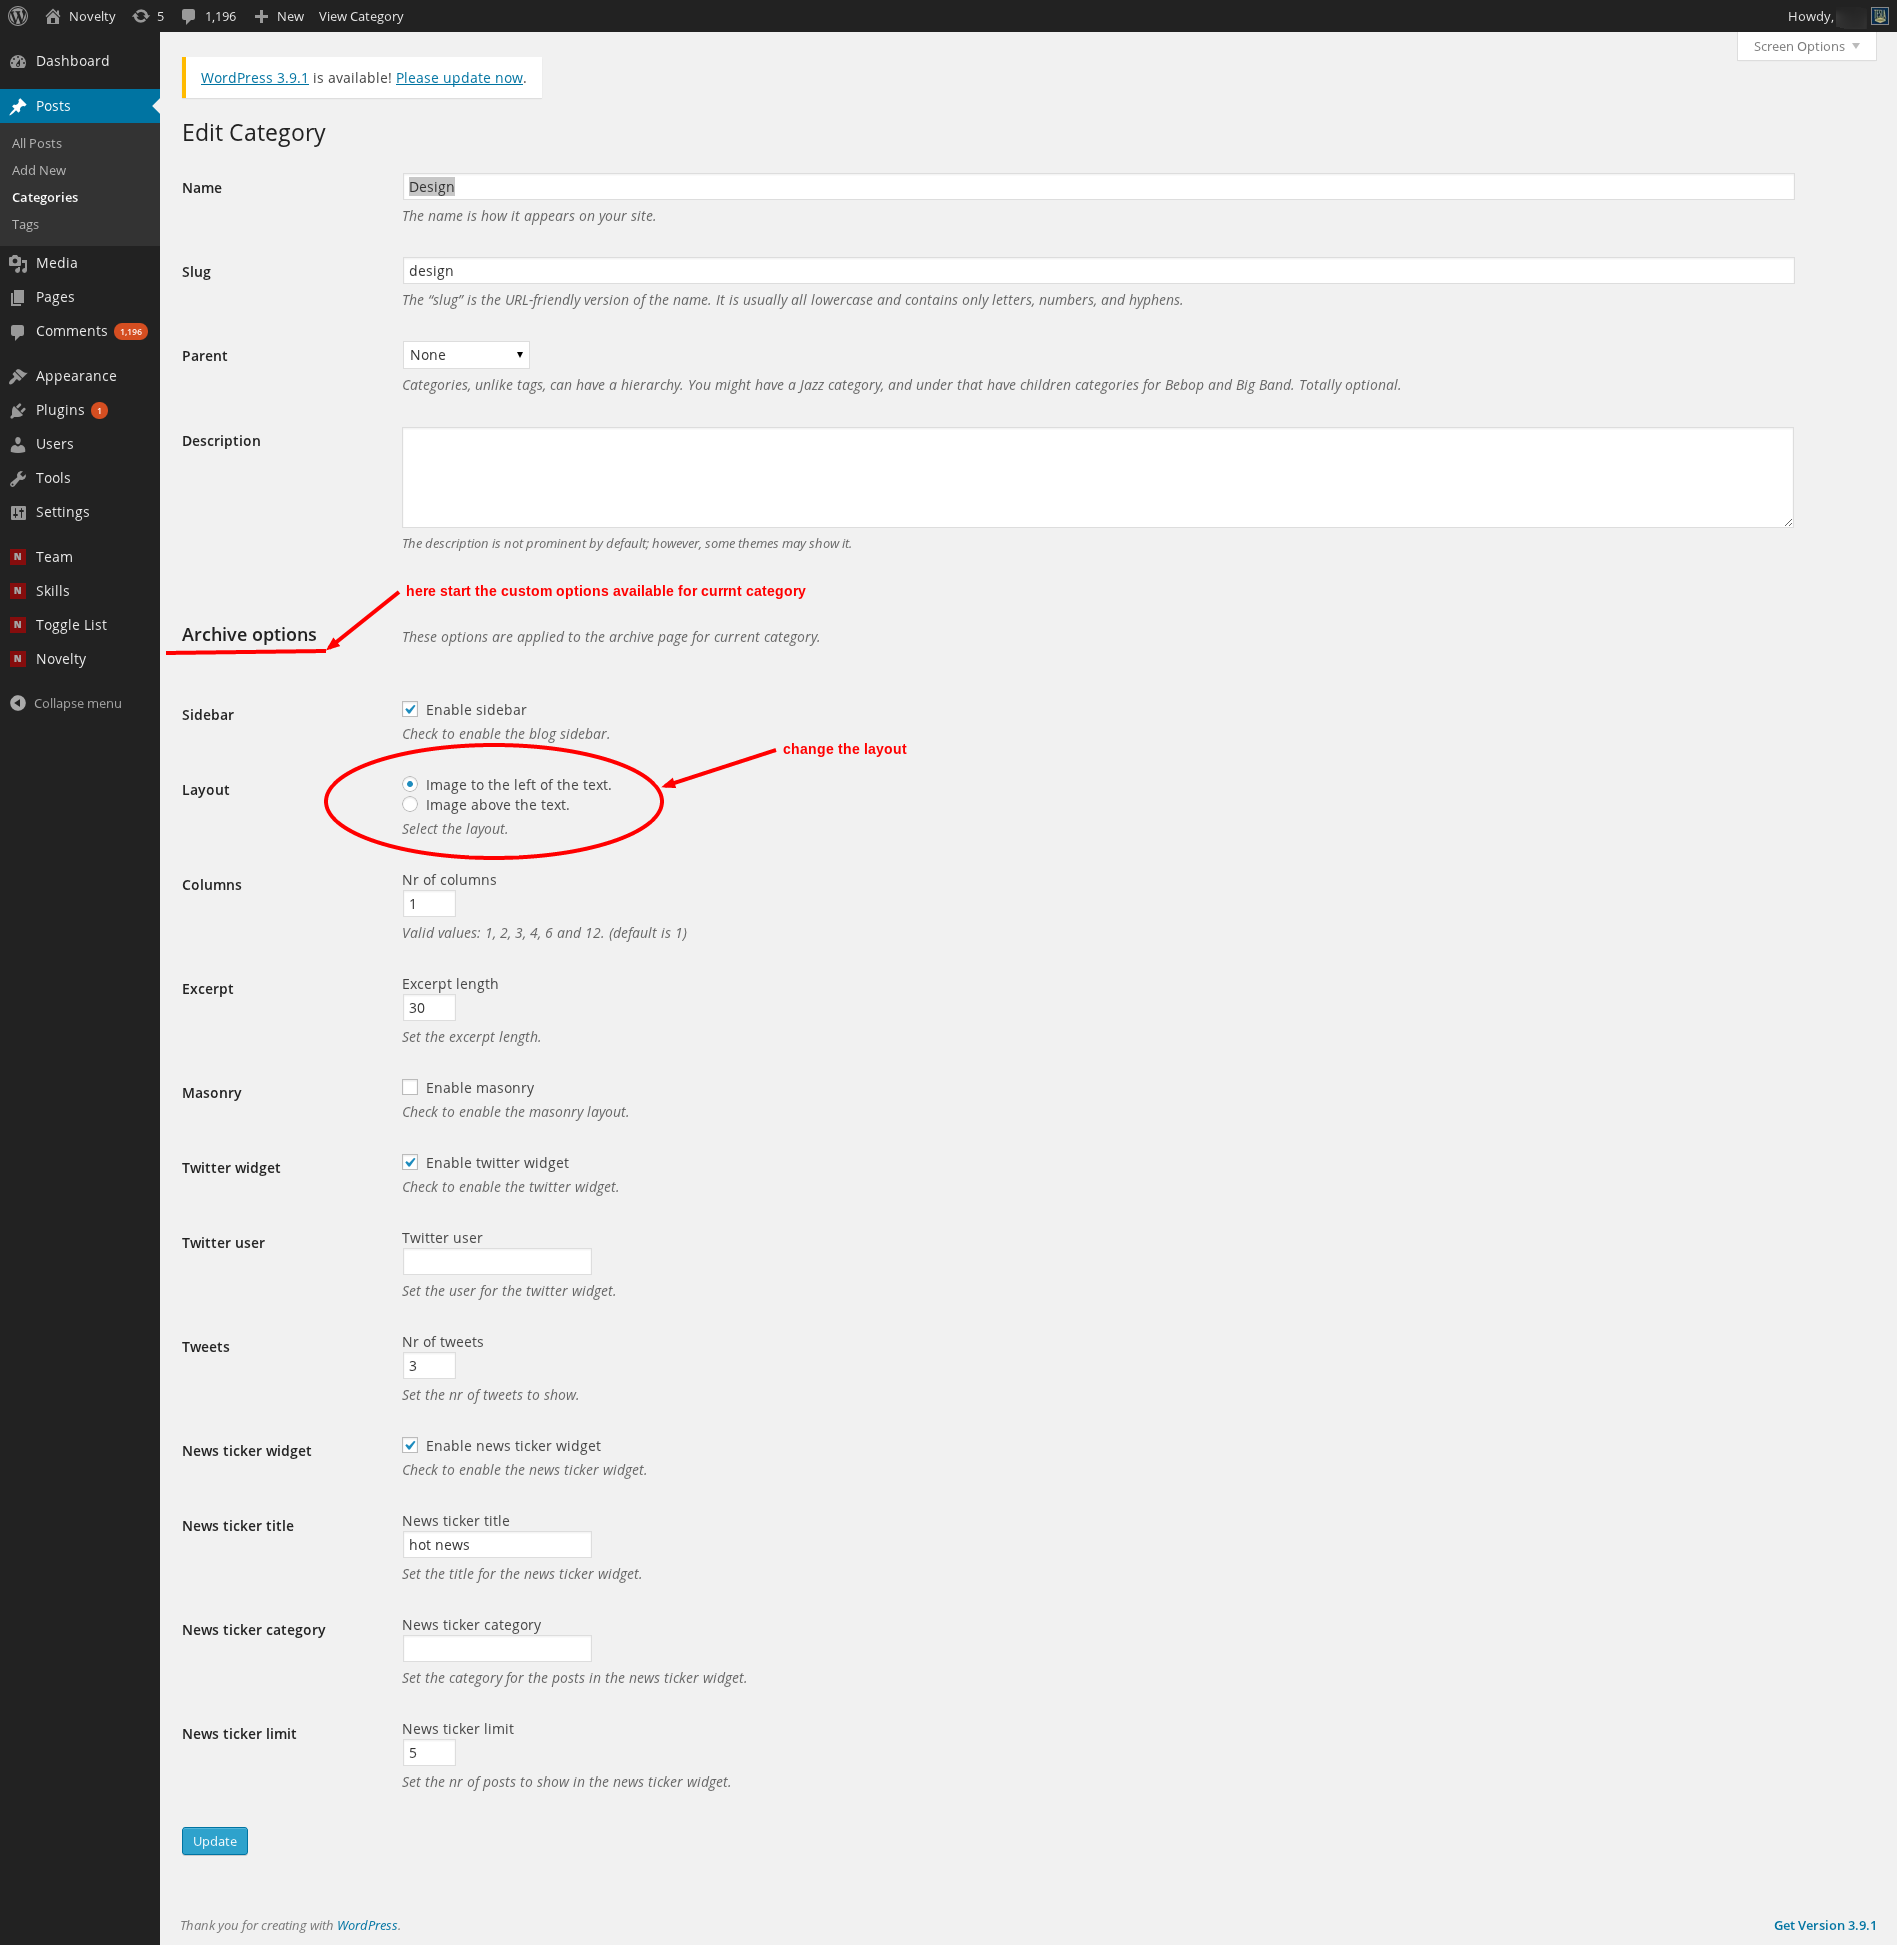
Each category has some custom options that are available only in our theme (for ex. layout options).
To access these options please follow the steps described in the screenshots below:

Thank you so much for choosing Novelty WordPress Theme. We hope you will enjoy using it!